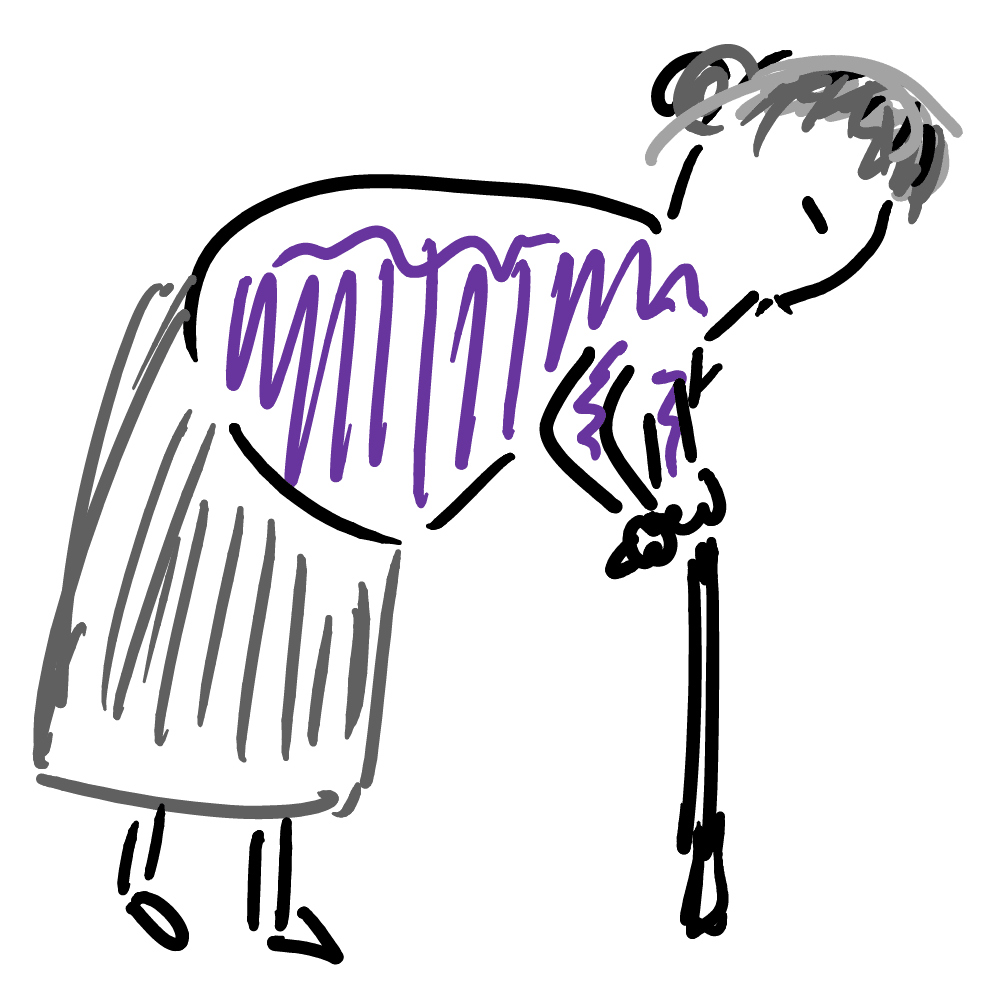
The California Department of Public Health sent me an invite for a coronavirus study. I’m not sure what they are studying – distancing habits and infection rates? They have a blurb explaining the study in their website, which I couldn’t understand. Anyway I participated and here’s what it looked like:
I thought that the test data would be useless after I got the coronavirus vaccine, so there wasn’t much time left to get an “untainted” blood sample pre-vaccine. Got the invite around April 24 and I was set to receive my first vaccine dose on May 1, but somehow they managed to get me the test kits on April 30. So I did it right away.
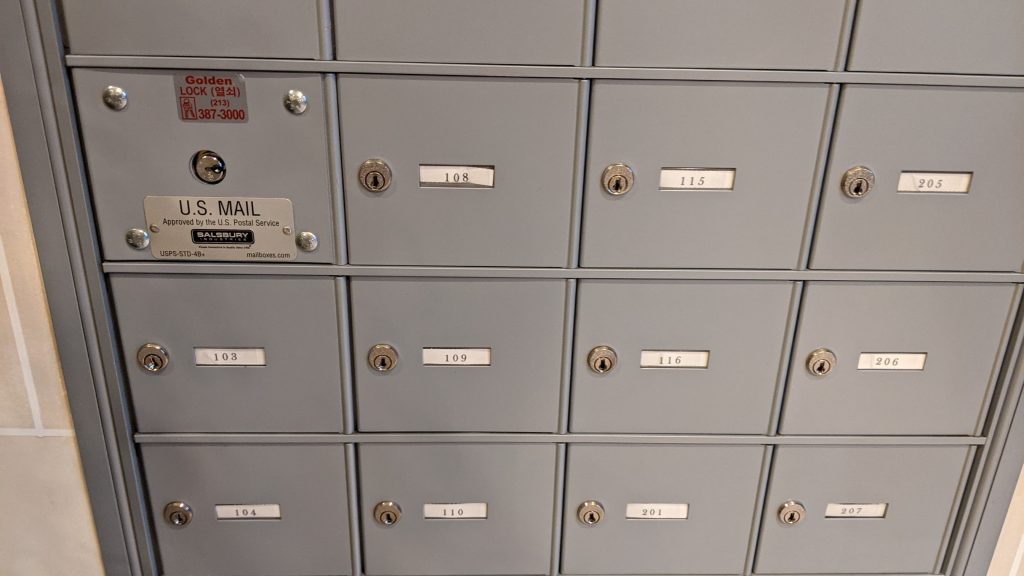
The first problem was getting the test kit out of my mailbox. The test kit comes inside a sturdily built paper box, and they have participants re-use the box to mail the results back while protecting the paper from bending and stuff.
Turns out this box was barely the right size to fit inside the cubicle while the mailman has the rack open, but once they lock the rack and it’s my turn to pull the package, there’s an ever so tiny metal bezel that makes up the mailbox structure that makes it impossible to pull it out. I tried bending, rotating, squeezing… ended up ripping out the plastic, ripped the box, and only then was able to bend the box to pull it out of the mailbox.
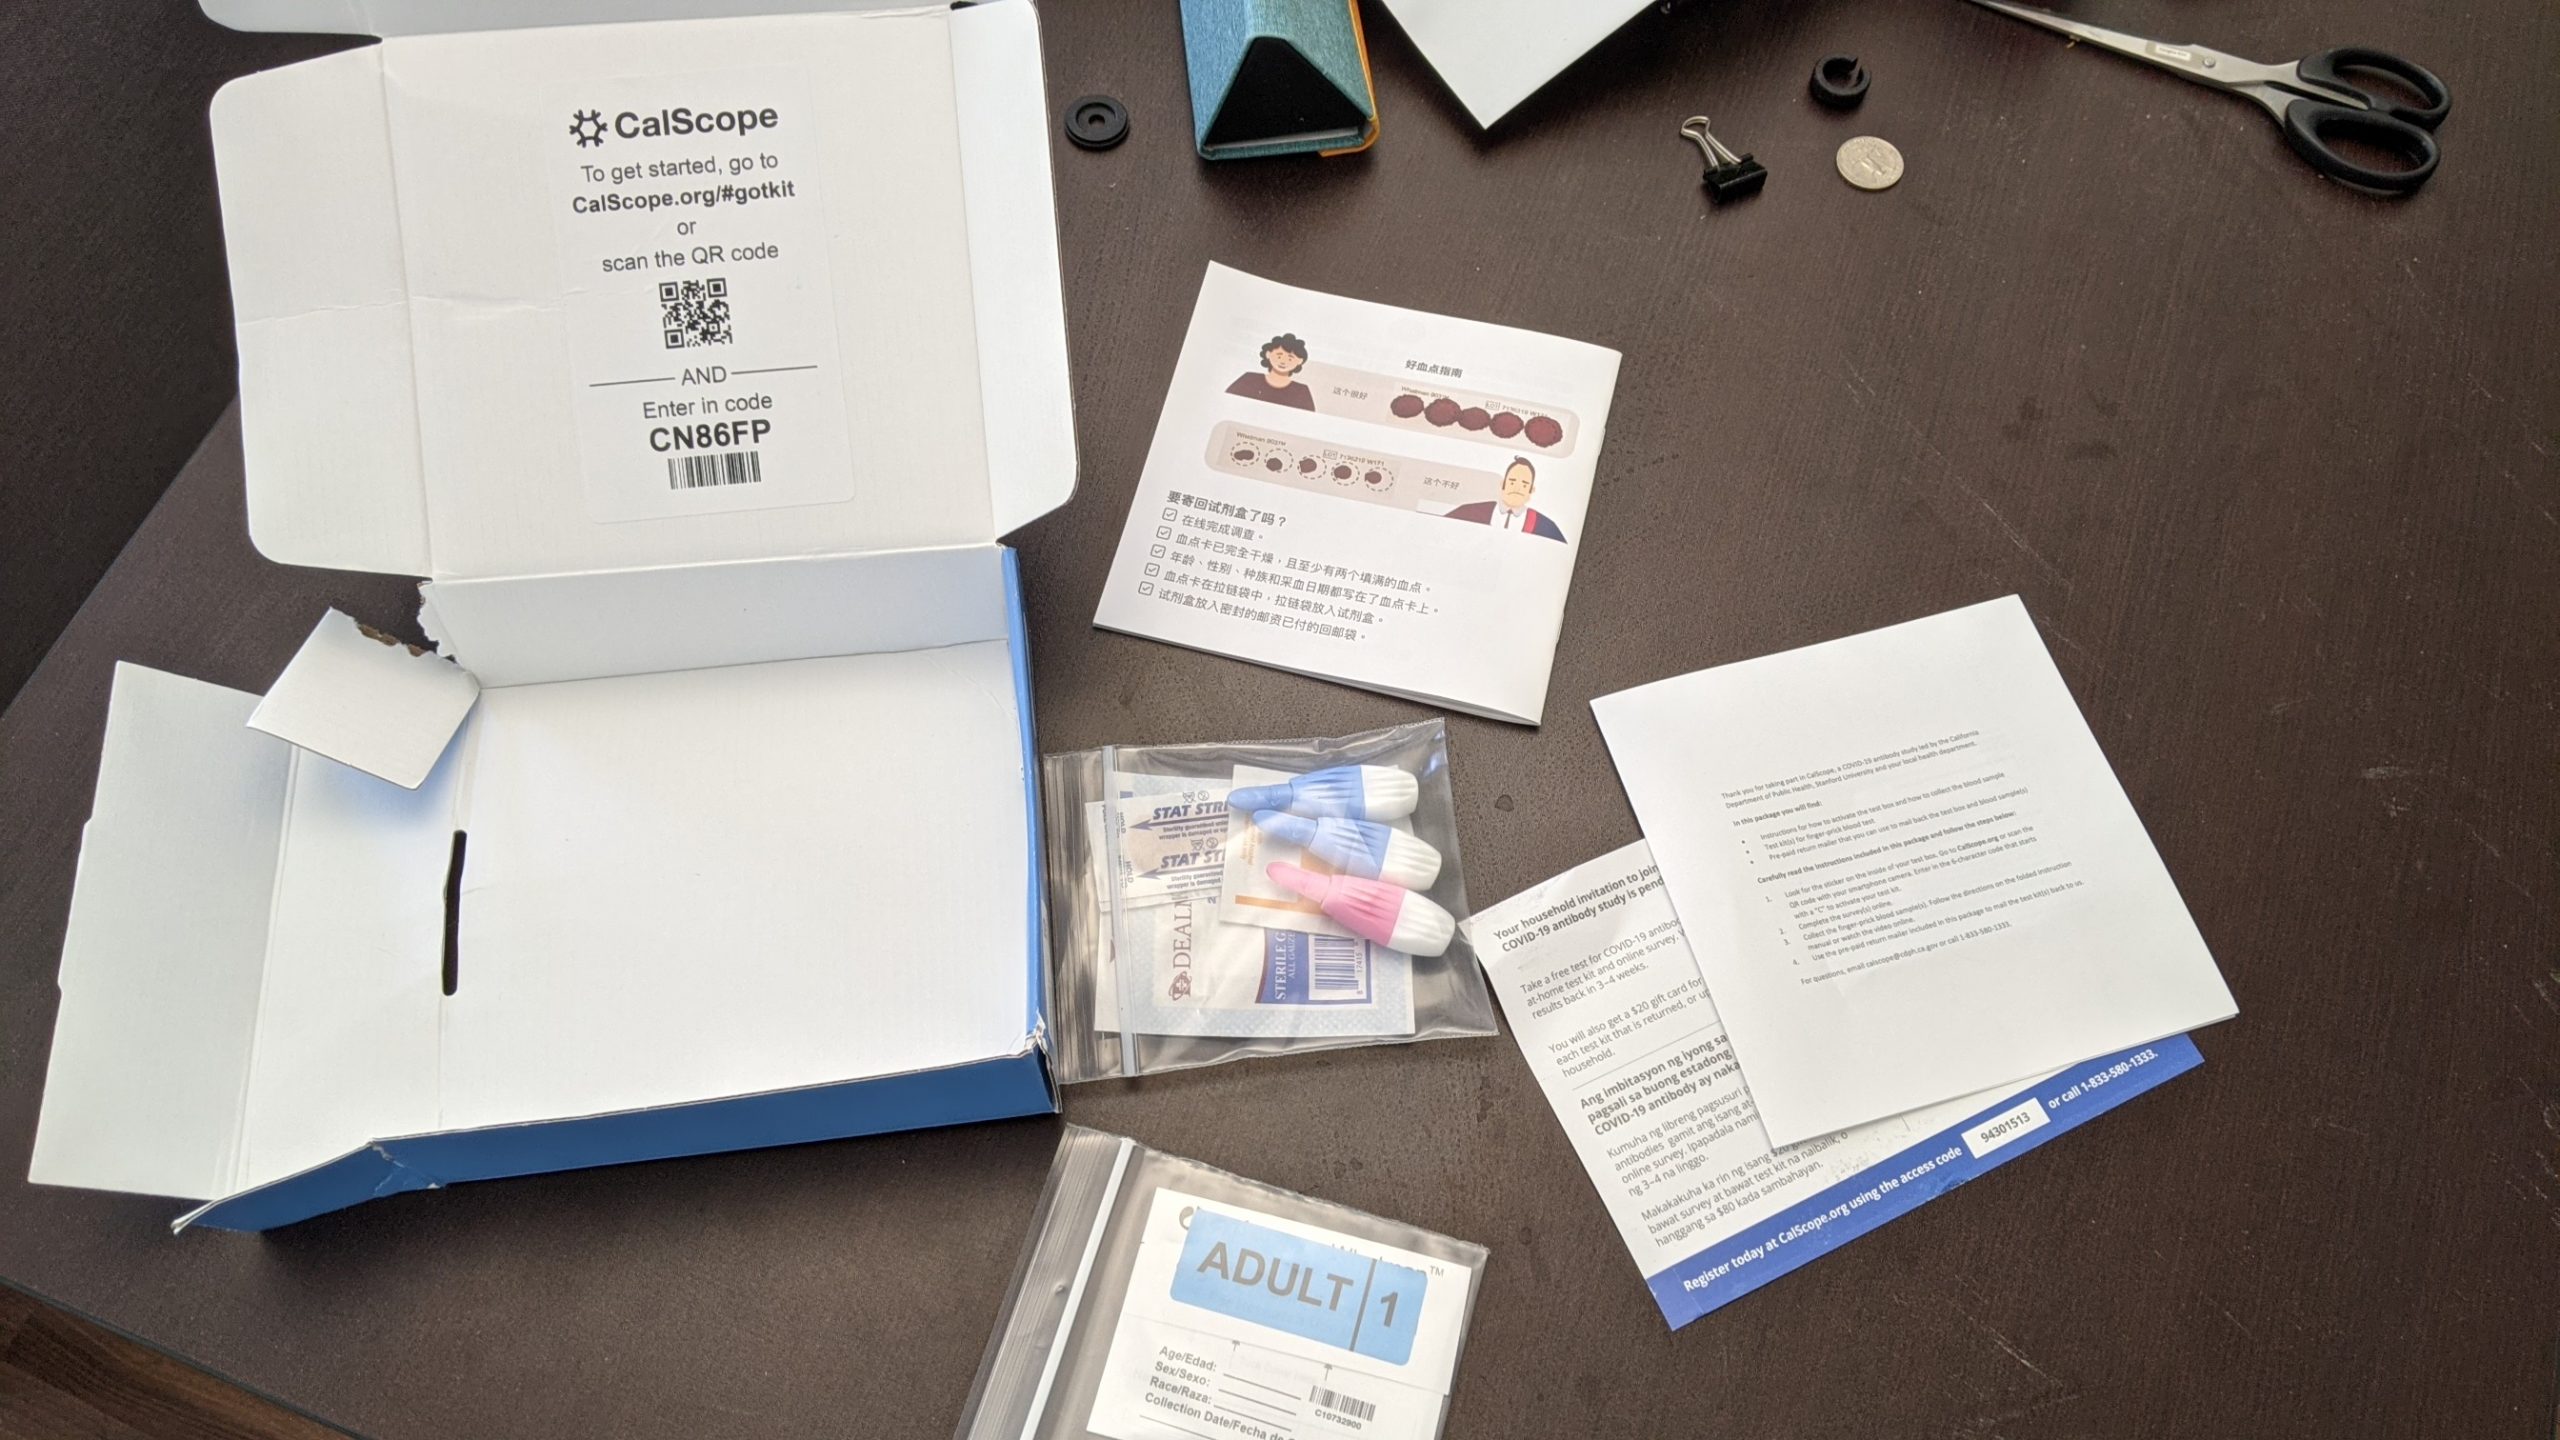
Inside the box was a tracking barcode that I had to enter on the project website. That threw me off a bit. I already provided some information online while accepting the invite – do I need to enter it again? Maybe it’s for people who somehow didn’t provide info? So I ignored it and proceeded with the manual.
Going through it, it felt like a very complex cooking recipe with lots of steps. In retrospect it was actually pretty simple, but I felt I would be needing to look at each page as I go through the steps and generally there were a lot of steps about preventing blood sample contamination.
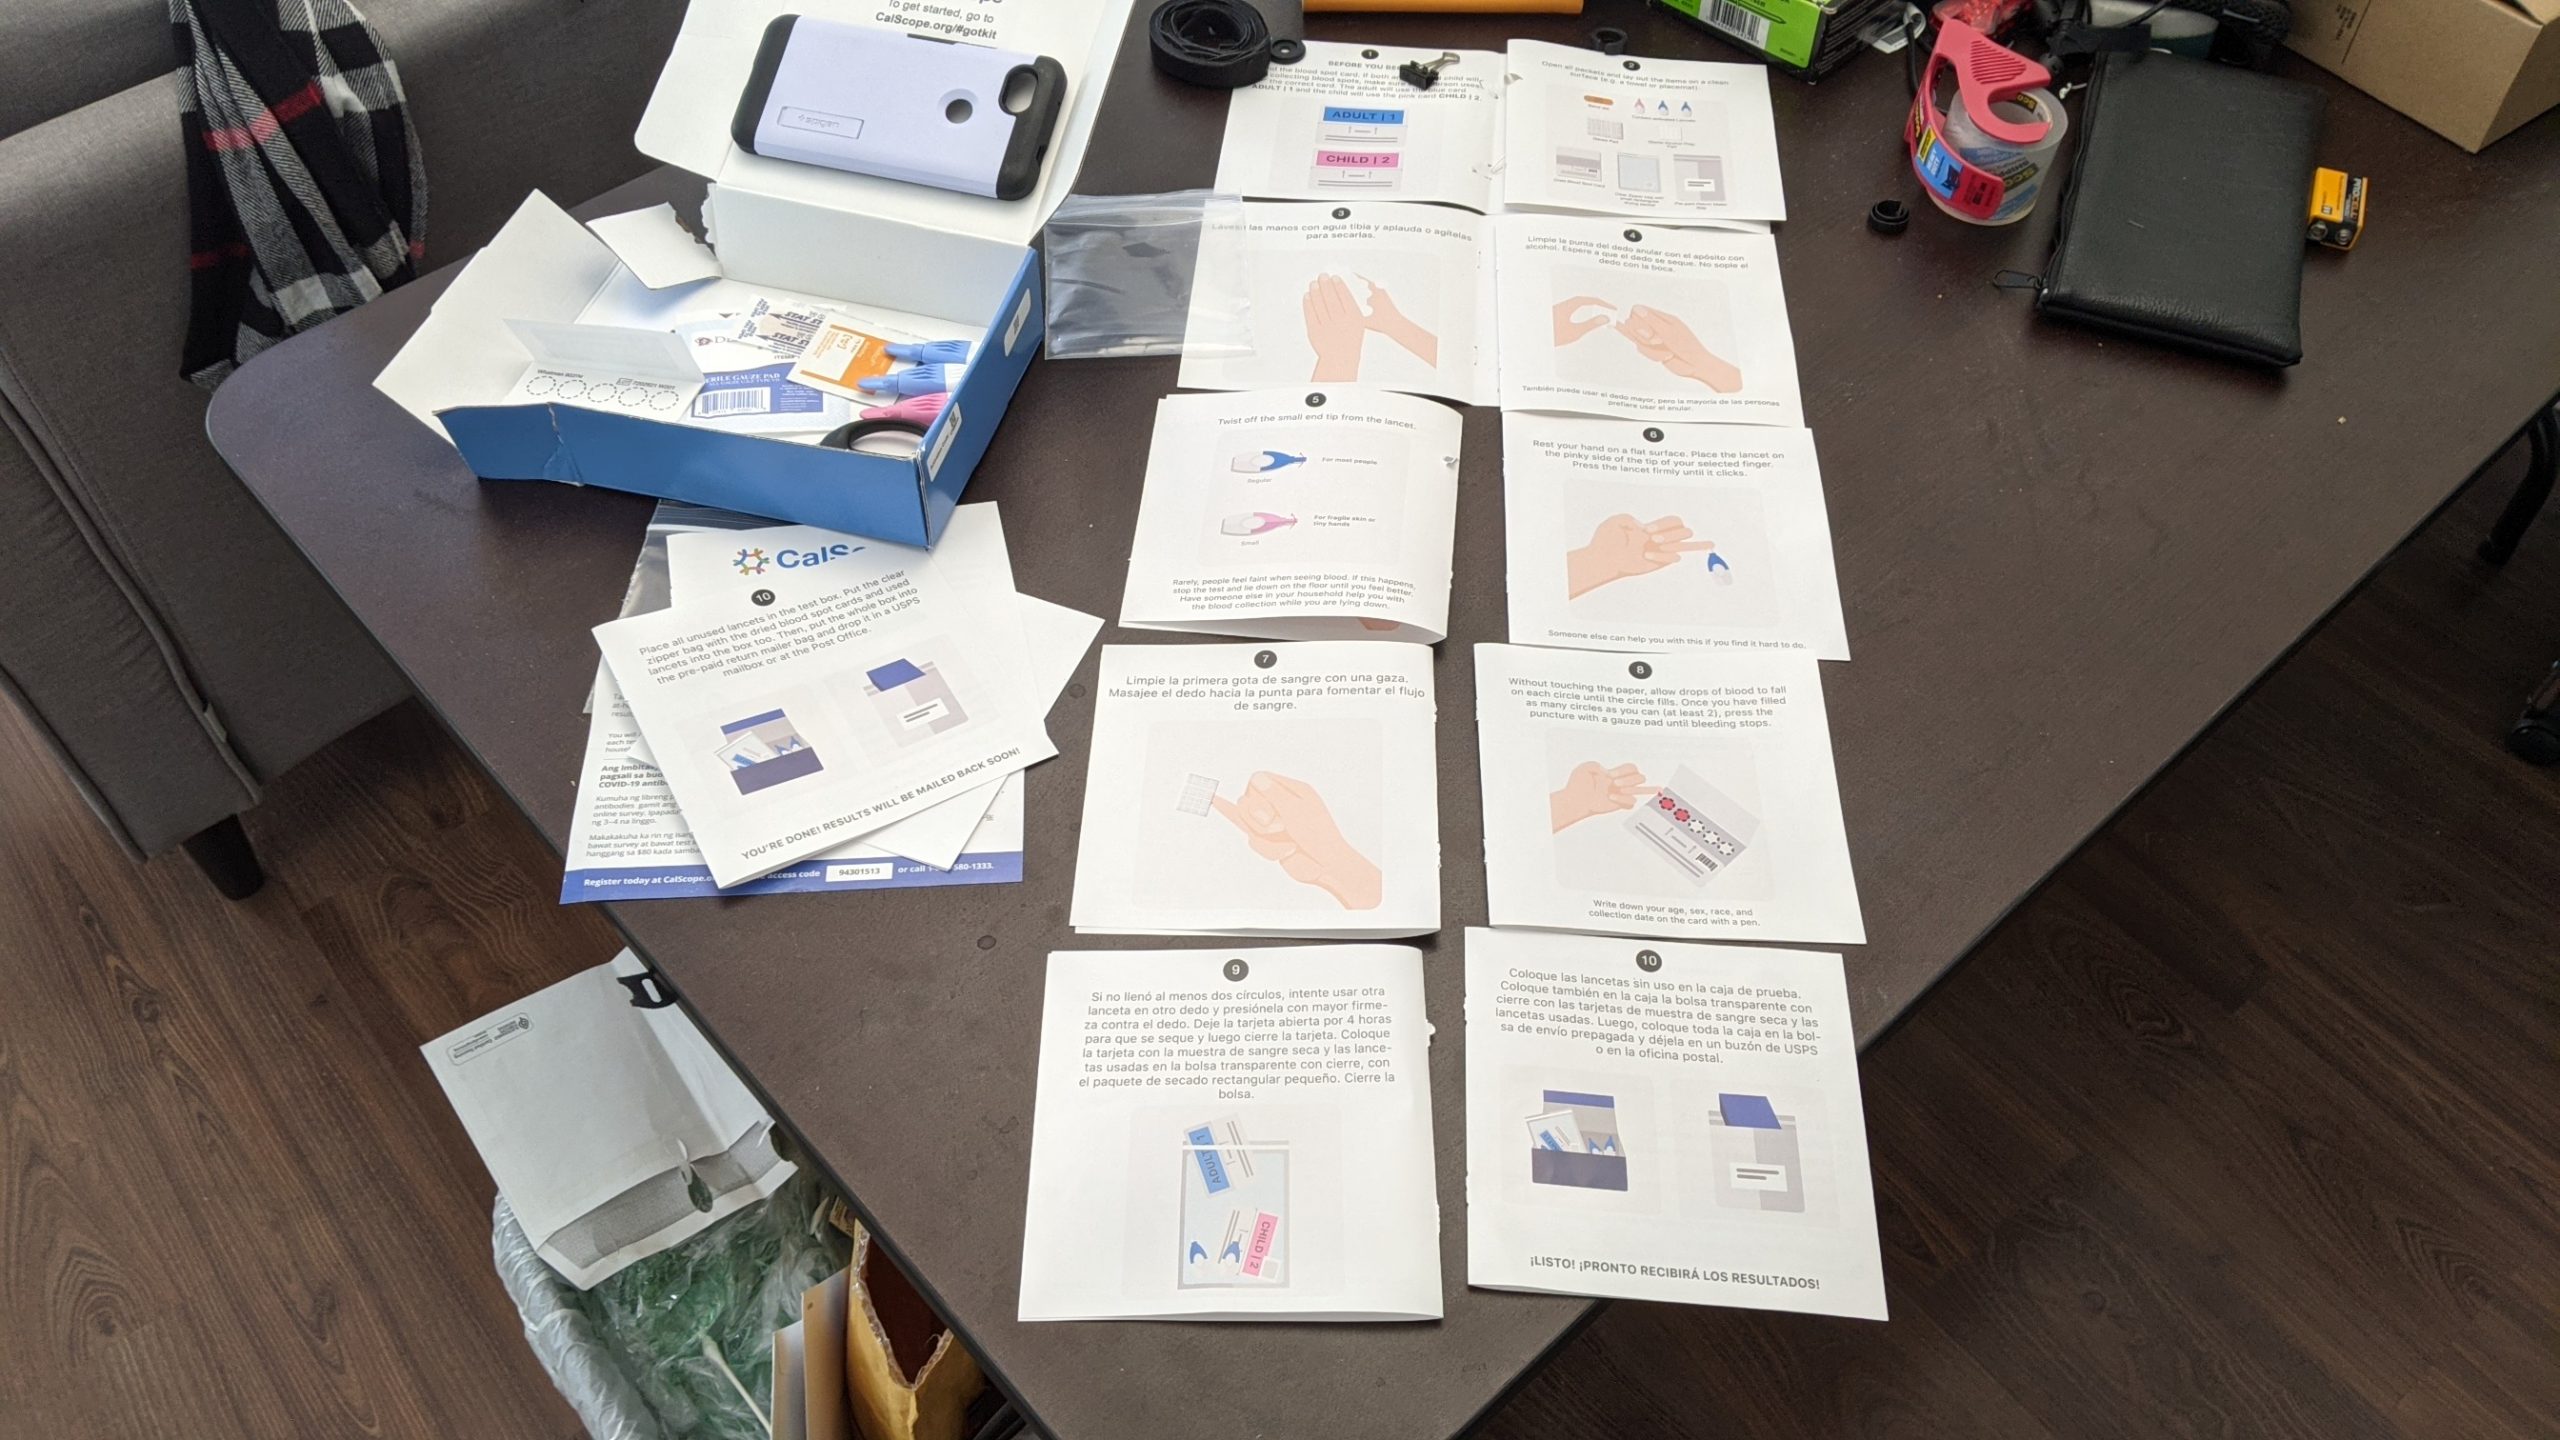
I thought that later on mid-procedure, if I had a bleeding finger and needed to turn pages, it was not gonna be very easy, so I ripped up the entire instructions booklet, and laid it out across the desk so that I could see the whole manual while doing it. I wouldn’t be able to see half of the booklet as it’s on the back side of each page, but that’s fine – I can use the Spanish language copies. (The manual came in English, Spanish, Tagalog, Chinese)

After struggling to understand how the overall process worked before starting, I finally followed the first instruction and pulled everything out of the plastic bags. Is this okay? They are so worried about sample contamination but just let you pull everything out before you know what you are not supposed to touch.
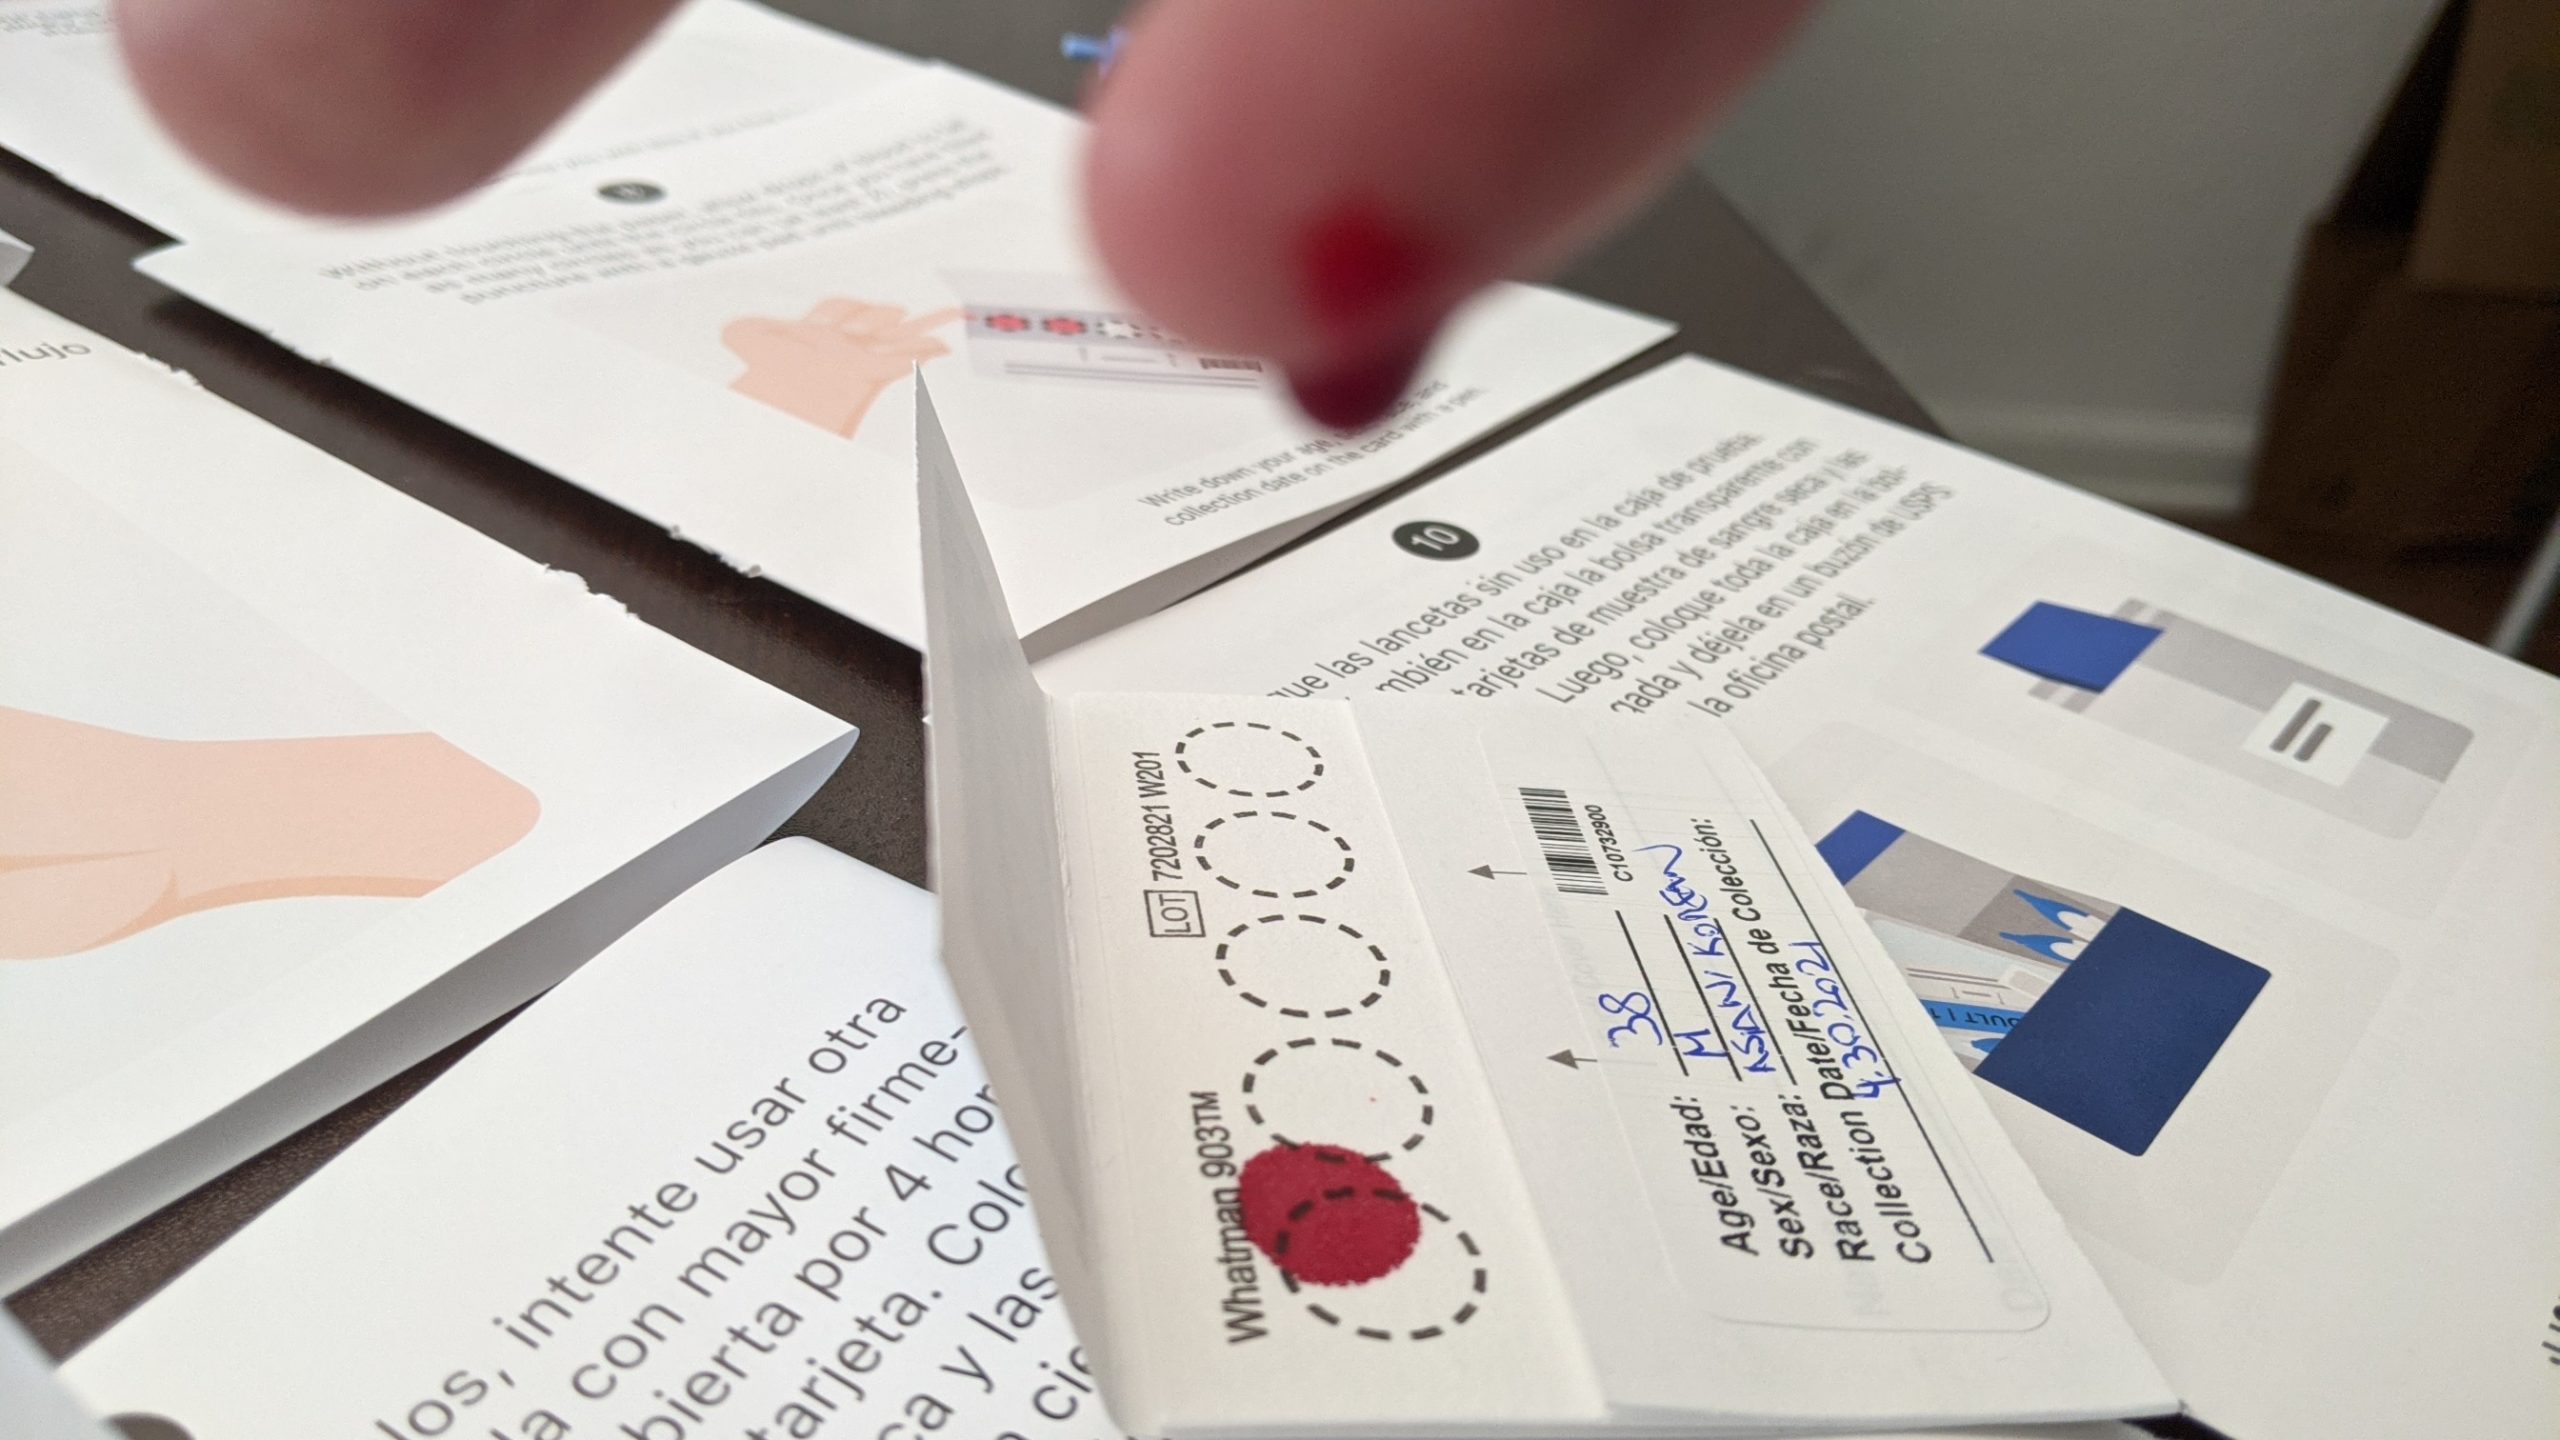
Then I saw the blood drop card and got excited that finally there was something easy to do – write age, sex and race! Easy stuff. Done. Then as I read further, I noticed that Step 4 specifically said “don’t touch the circles in the card”. Great. I think I touched the circles while writing, because I needed to open the flap to write on the Age line. I vaguely remember that I probably only touched circle 5, or 4 and 5… so hopefully it’s not too contaminated.
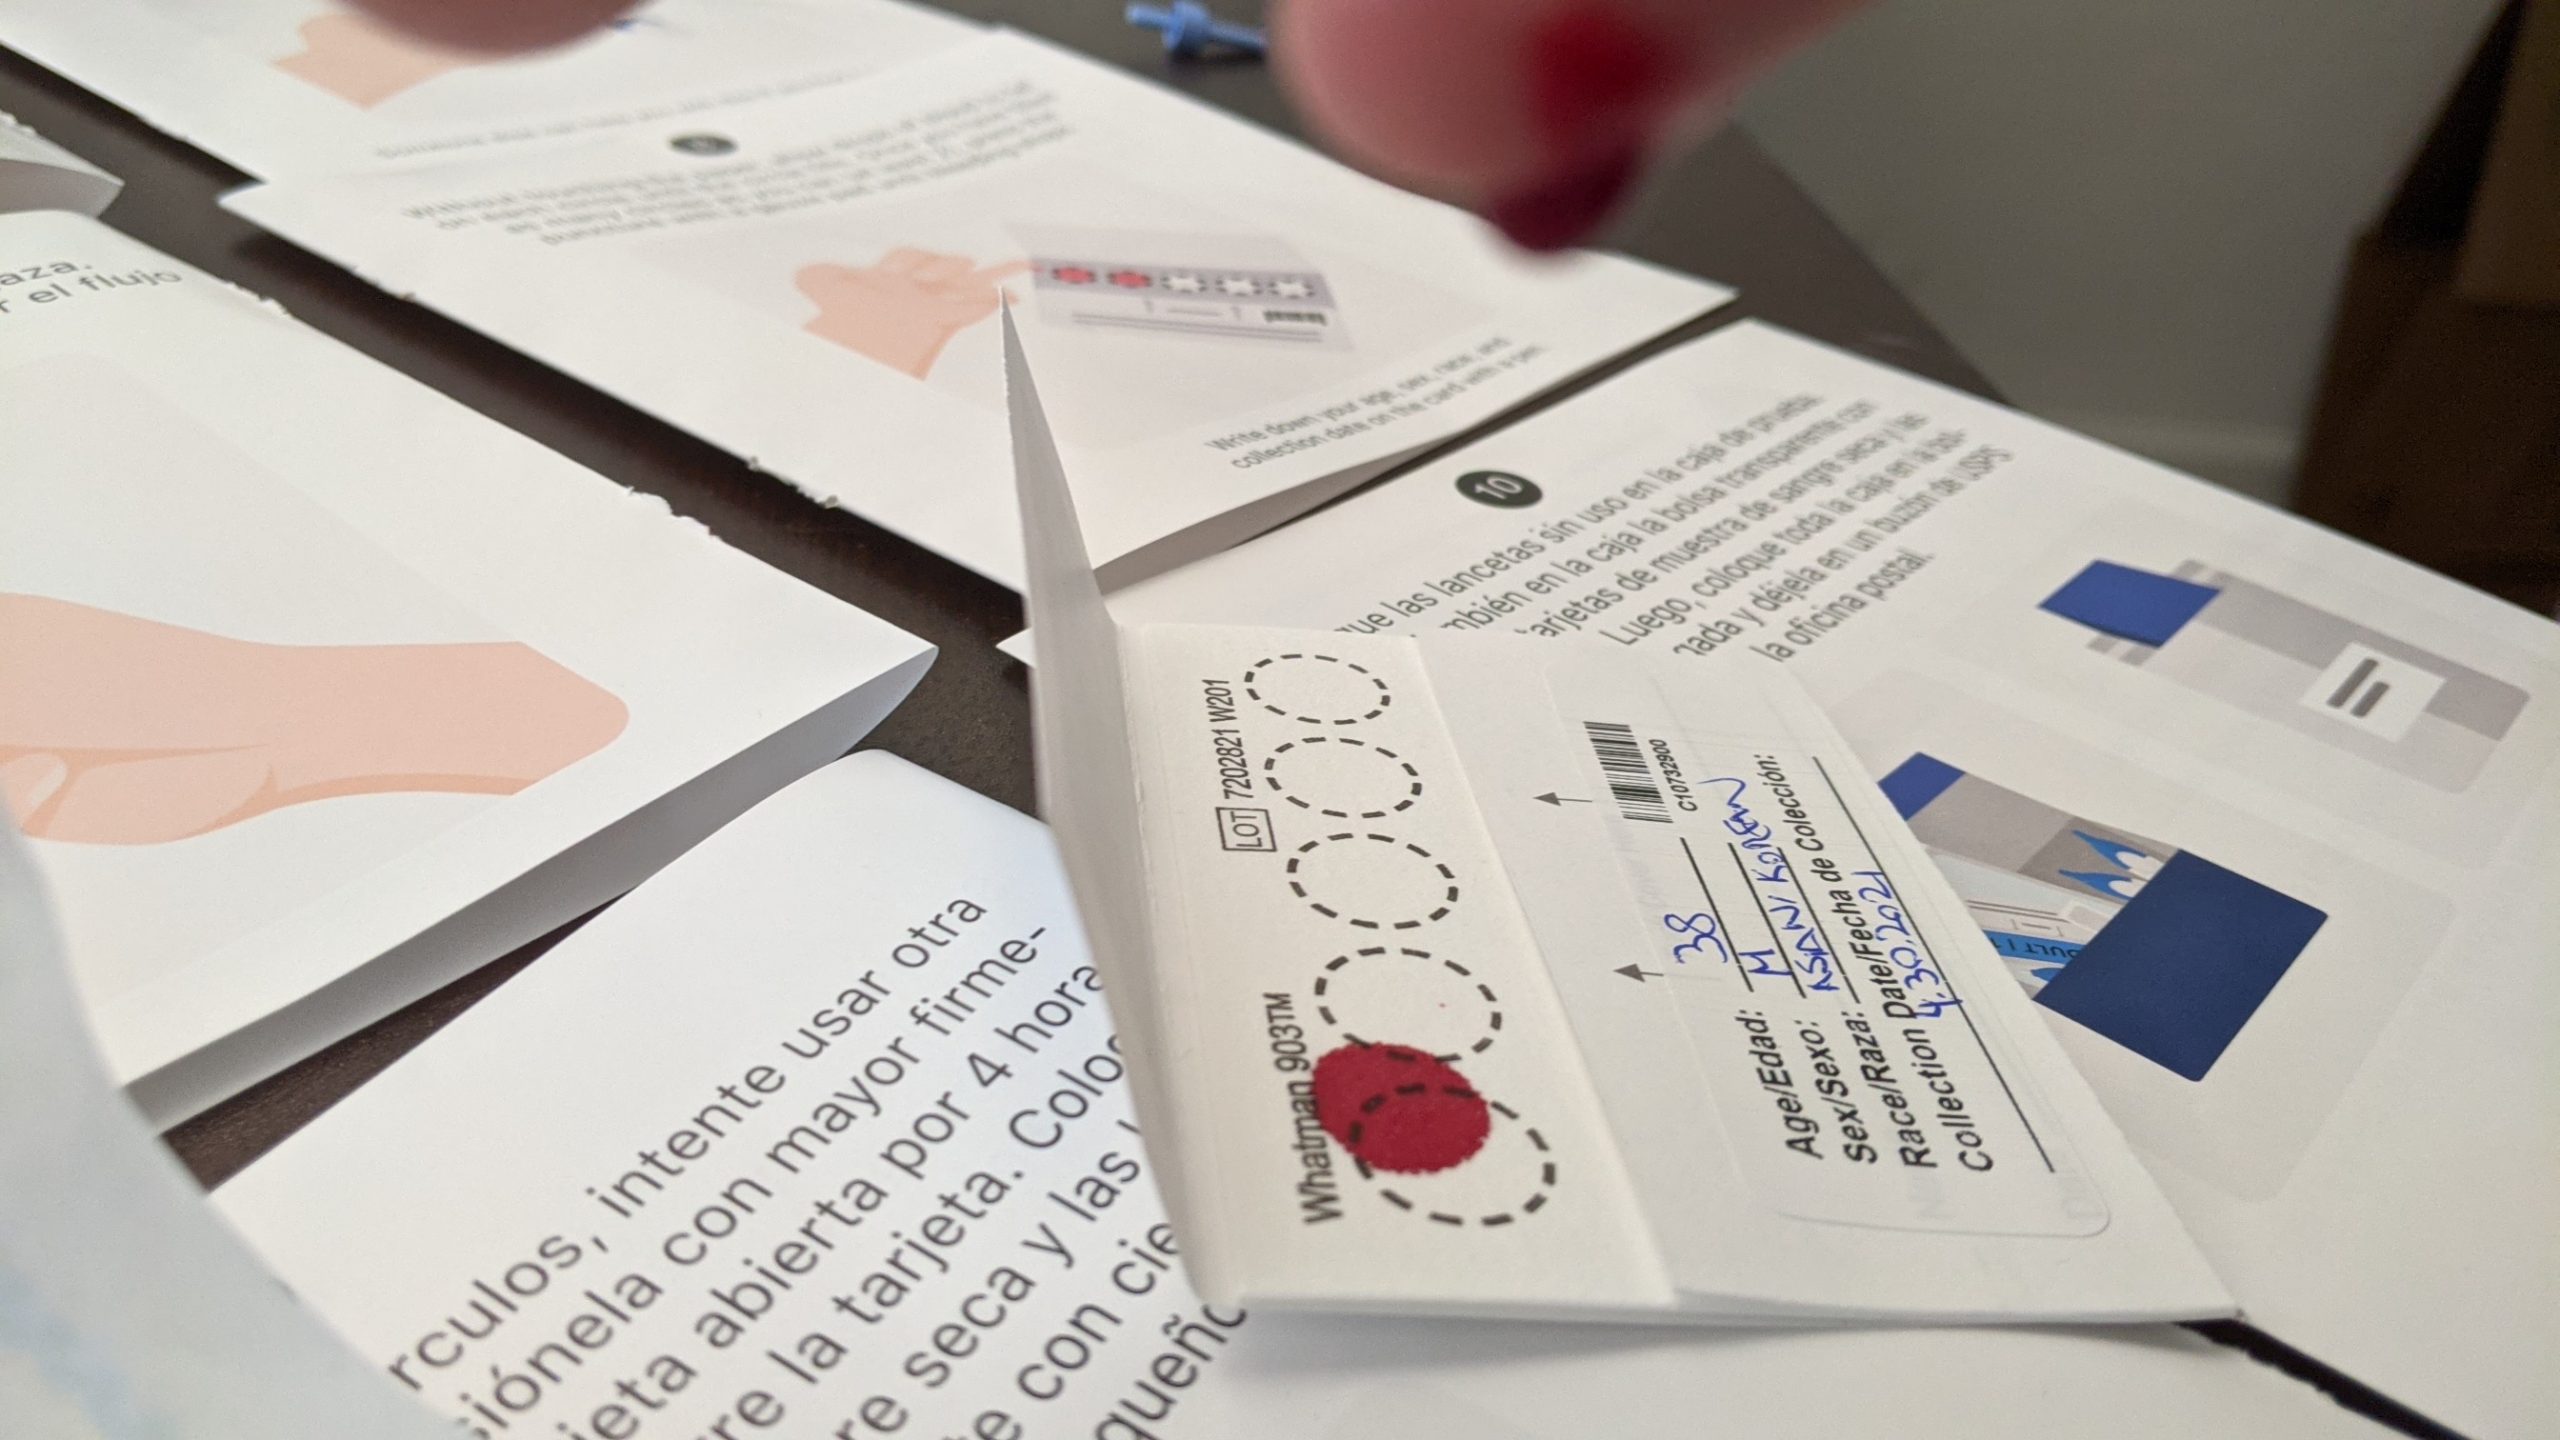
After disinfecting the finger, it was time to prick the finger and drop blood over the card. One thing that was weird was that the instructions said “prick your pinky finger”, which is finger #5, but the illustration showed finger #4. The needle shocked me because I needed to firmly push against the finger, and only after crossing some pressure threshold would the needle spring out of the thing and puncture the finger. Kinda scary. Anyway there’s blood coming out, okay with some aim.. the second drop (first drop is discarded probably due to contamination) fell a bit off from Circle 1. Not bad.
And then things went downhill.
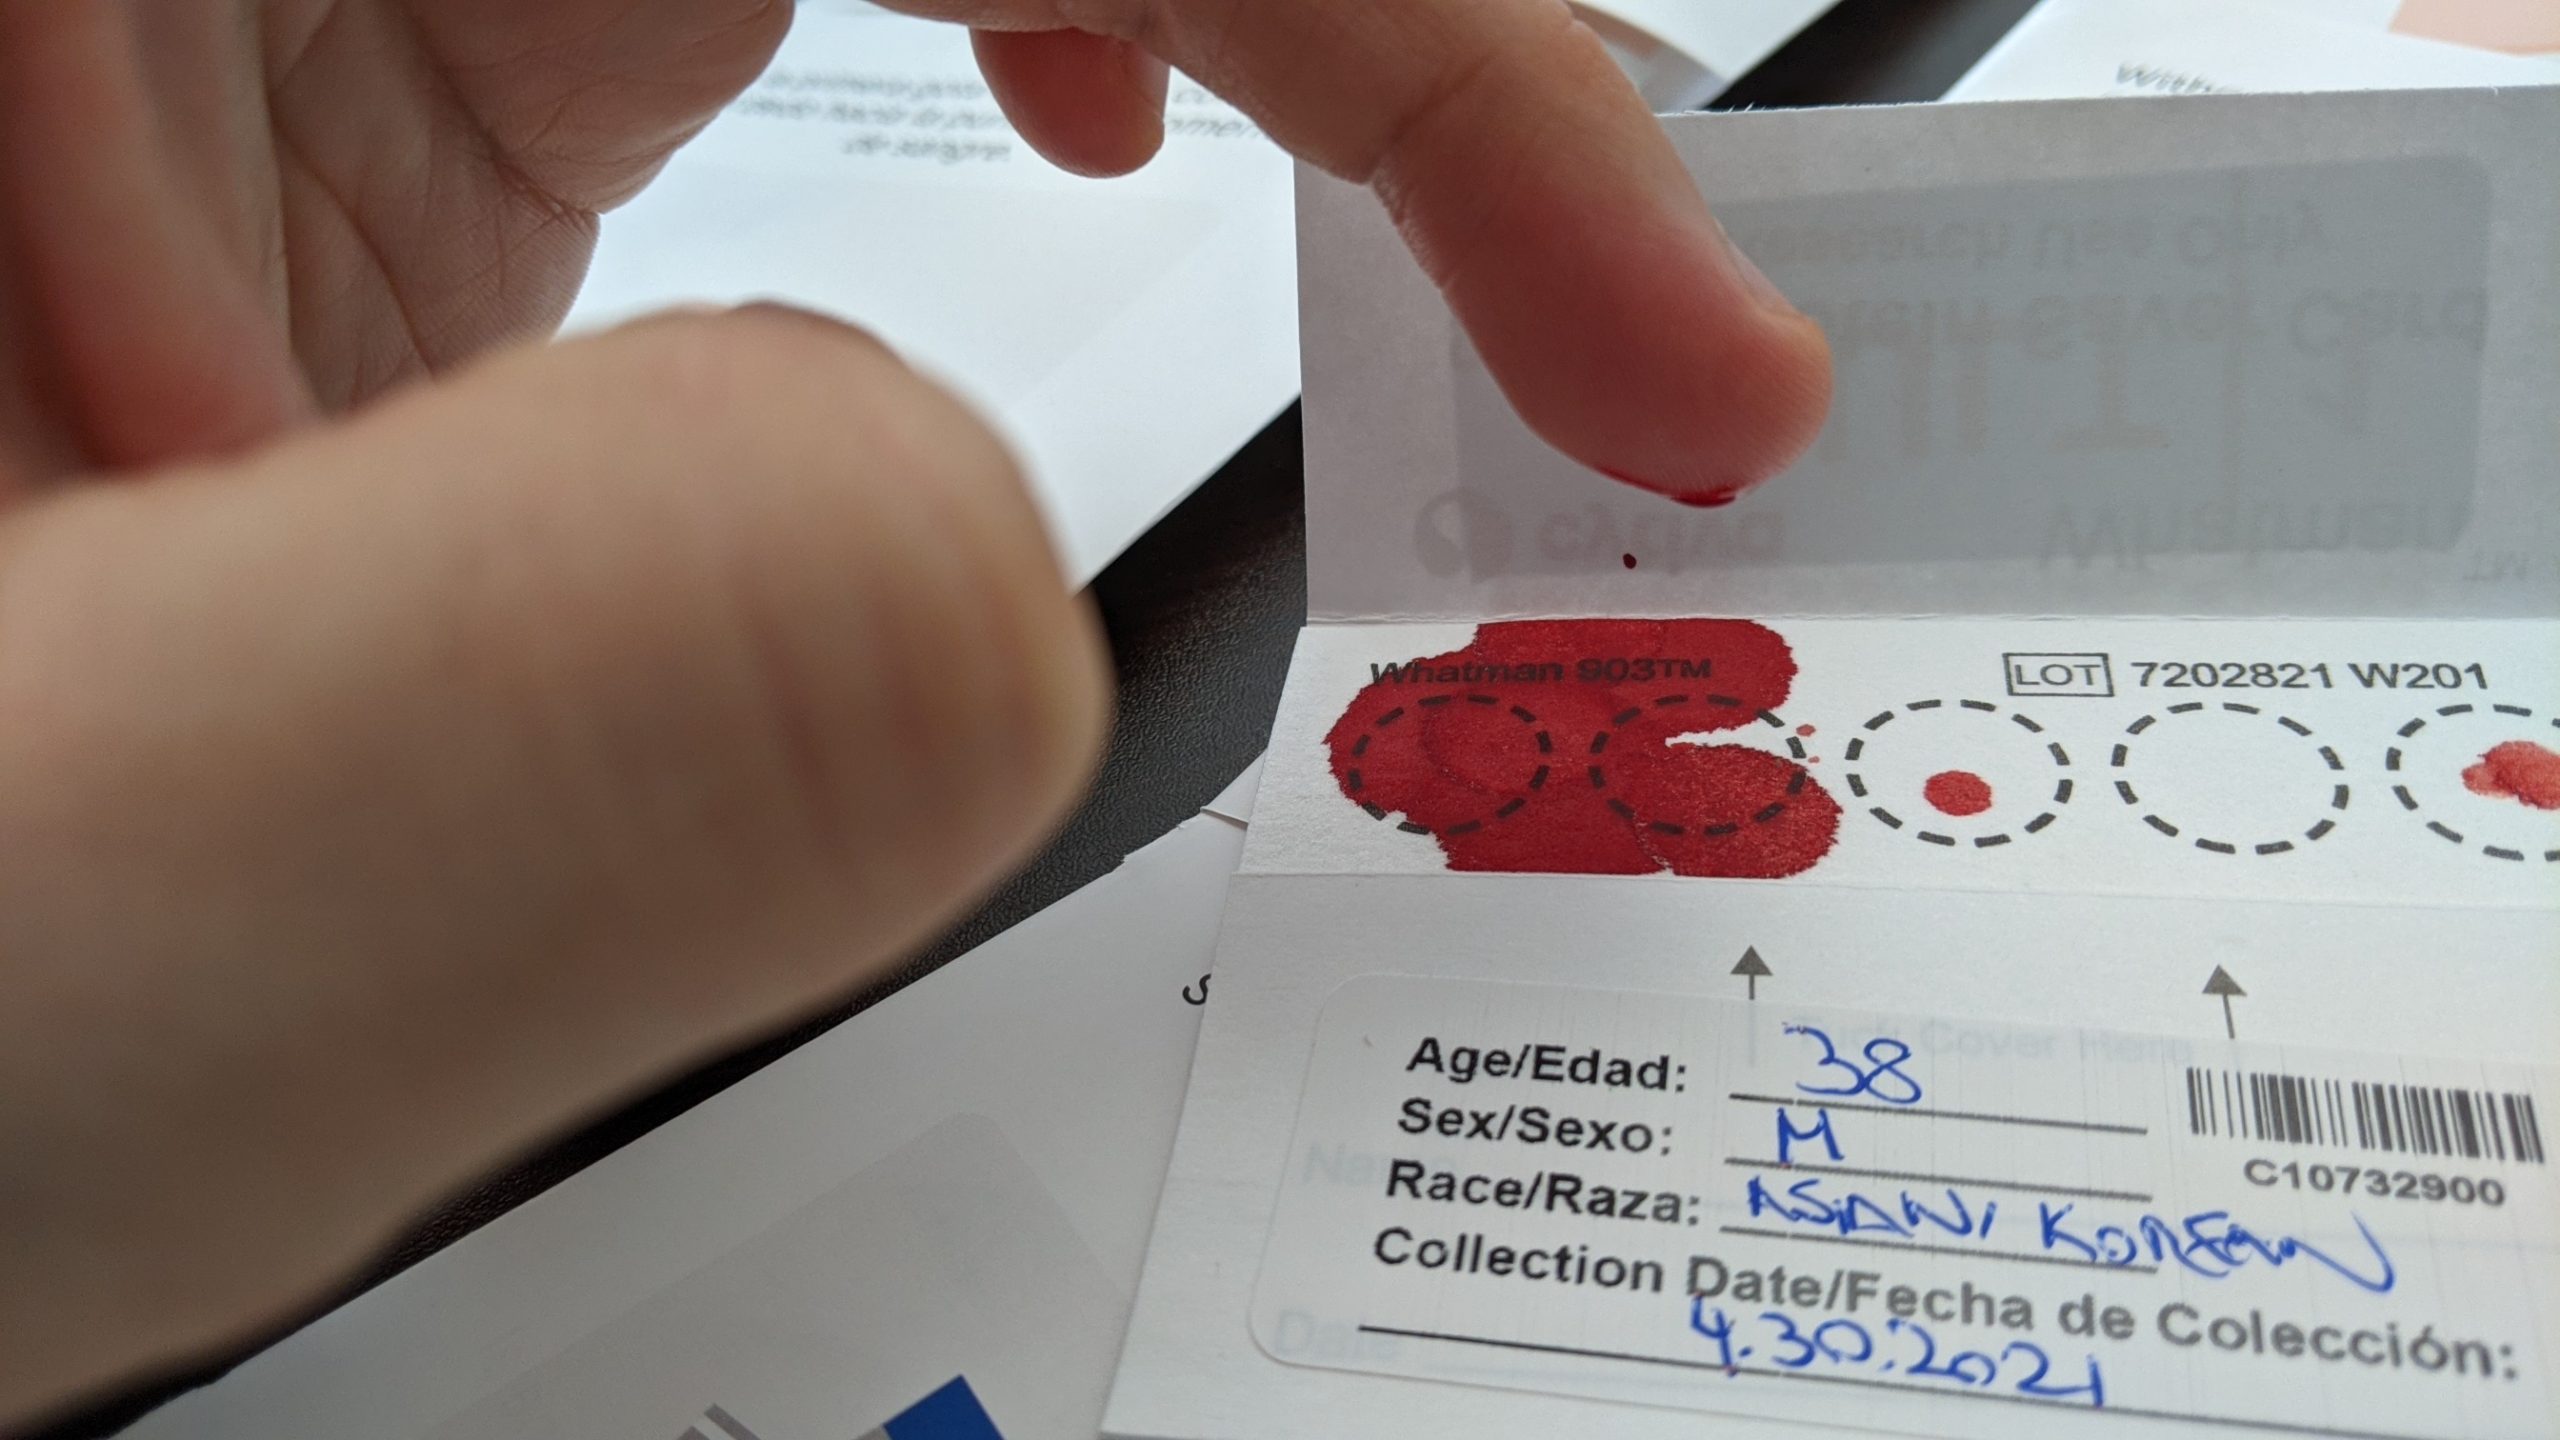
There wasn’t much blood coming out after the second drop. As instructed, I massaged the finger down to push more blood to come out, but it just wasn’t gobbling up or anything – it was a pretty slow buildup. Also, the blood looked pretty viscose and it just was clinging to the finger for dear life and wouldn’t fall off. I wasn’t supposed to touch the paper – the instructions said let the blood naturally drop.
I figured it was time for more drastic measures – got up, and starting vigorously running in place to force more blood circulation. Ran for a bit, then massaged the finger. The problem is that while it was working, I couldn’t quite tell how long I had to run before stopping and carefully aiming above the card as the drop was about to fall. So I was doing short bursts of running then looking at the slightly bigger drop and trying to assess if it looked like it would fall off soon, then get back to the running.

Another thing that worried me was that massaging the finger using the other hand could potentially contaminate the sample if I ended up touching the stream of blood. My pinky finger is not very long – there isn’t much distance to “massage it down”. Also, by this point there was a lot of blood around the tip and I couldn’t remember the exact location of the puncture.
After two horribly aimed drops – the third one you see on the photo fell while I was shaking the finger to drop the blood – I just decided to try touching the card – I touched circle #5, which was a lost cause anyway. The touching revealed what the problem was: blood had coagulated already.
So I washed my hands, and went for the left hand’s finger #4 now. (I’m left handed, so I had started with right hand pinky.) Also, this time I wouldn’t puncture the middle of the fingertip. On my first finger, I didn’t like how the blood stream wasn’t growing right under the puncture – it had to travel the skin for a bit further down to coalesce at the edge of the tip, and from there it would fall. I felt I was losing some of the blood to liquid surface tension because of the skin distance to be traveled.
So some pre-prick running, then the puncture. Remembering how the prick was so sudden, I was very scared of applying force on the device. Can’t I just slowly stick a needle into the finger? It’s much more predictable that way. Although I understand this is needed to the keep the needle clean.. oh well.
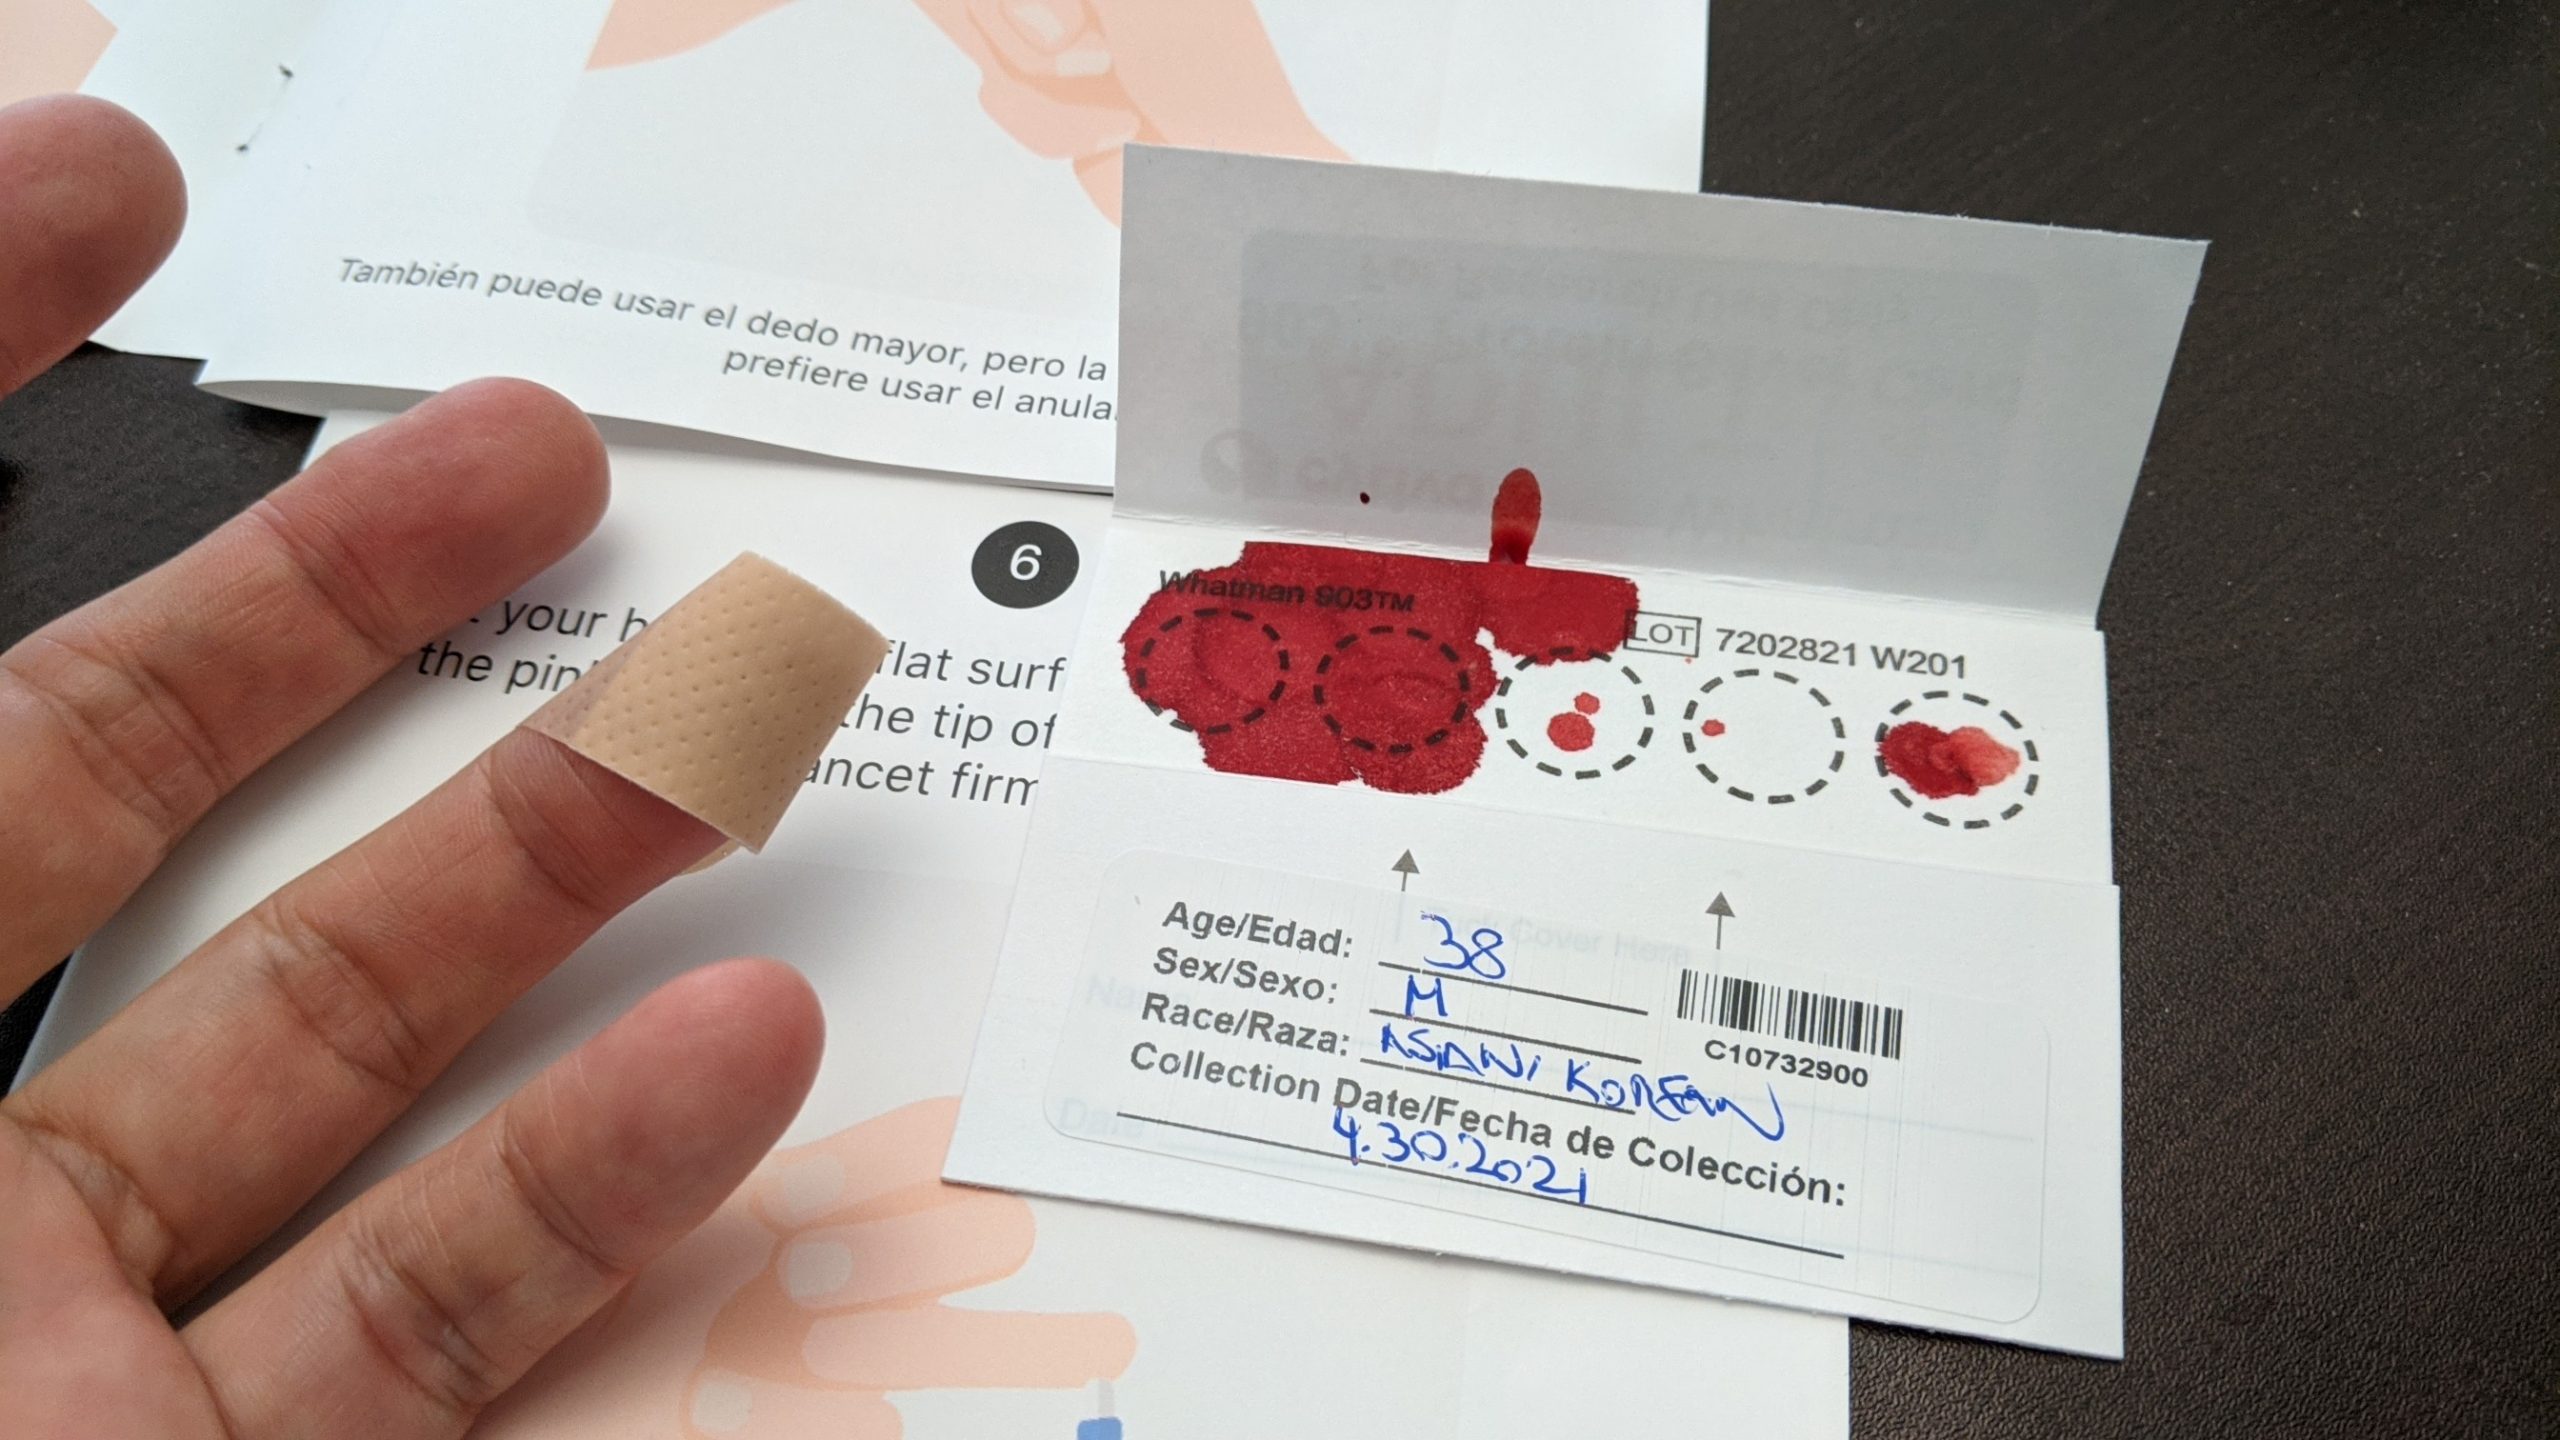
I think I managed to keep more blood flowing from the lessons learned in the first finger. But everything was a drop hazard – running in place; massaging the finger; shaking the finger to force the drop to fall off. Eh this is good enough for a noscope 360 headshot. After I finally managed to completely fill two circles, I called it a day, dried it, packed it up and shipped it back.
Before packing it, I went to the website with my tracking code, and then I saw that they had an extensive survey that I had to complete online. One of the questions is “have you received the vaccine?”, so maybe vaccinated peoples’ data will also count as some form of comparison group. And after the survey, there was an online version of the paper manual but with videos that showed you how to massage your finger and stuff. I think at the end it didn’t matter that I saw the survey at the end, as the video lessons did not have new information that the paper didn’t. But I guess it would have helped me make a mental image of the procedure a bit more easily. The box didn’t say that the website needed to be done first – it just said “to get started, go here”. I guess the “to get started” was the clue that I missed.
I think this study is gonna end up with a ton of samples with methodological mistakes done during blood sampling – the researchers probably planned ahead for it and I wish them luck.
Leave a Reply